|
|
Article & Data
 Hydrostatic test of polyethylene pipe
|
|
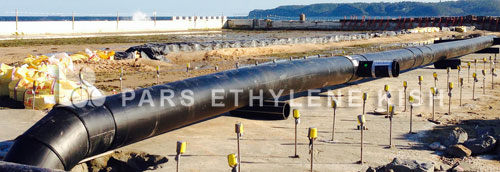
Hydrostatic Test of Polyethylene Pipe
Hydrostatic Test Guide
The hydrostatic test of the polyethylene pipe is performed to verify the strength of the product against hydrostatic pressures. Hydrostatic test on the polyethylene pipelines at the site as well as on samples of pipes produced in a laboratory. Hydrostatic testing is often required after and repairs to ensure the correct operation of the equipment after restart. Therefore, hydrostatic testing is not carried out during the working conditions of the system, nor the system can be considered when working for leakage or crack growth.
Performing a hydrostatic test ensures that the system operates properly and avoids high financial and human costs. Although hydrostatic is a non-destructive test, however, if the hydrostatic test exceeds the specified pressure of the equipment, it will break down. Therefore, this test requires experts and advanced devices to maintain the safety of equipment.
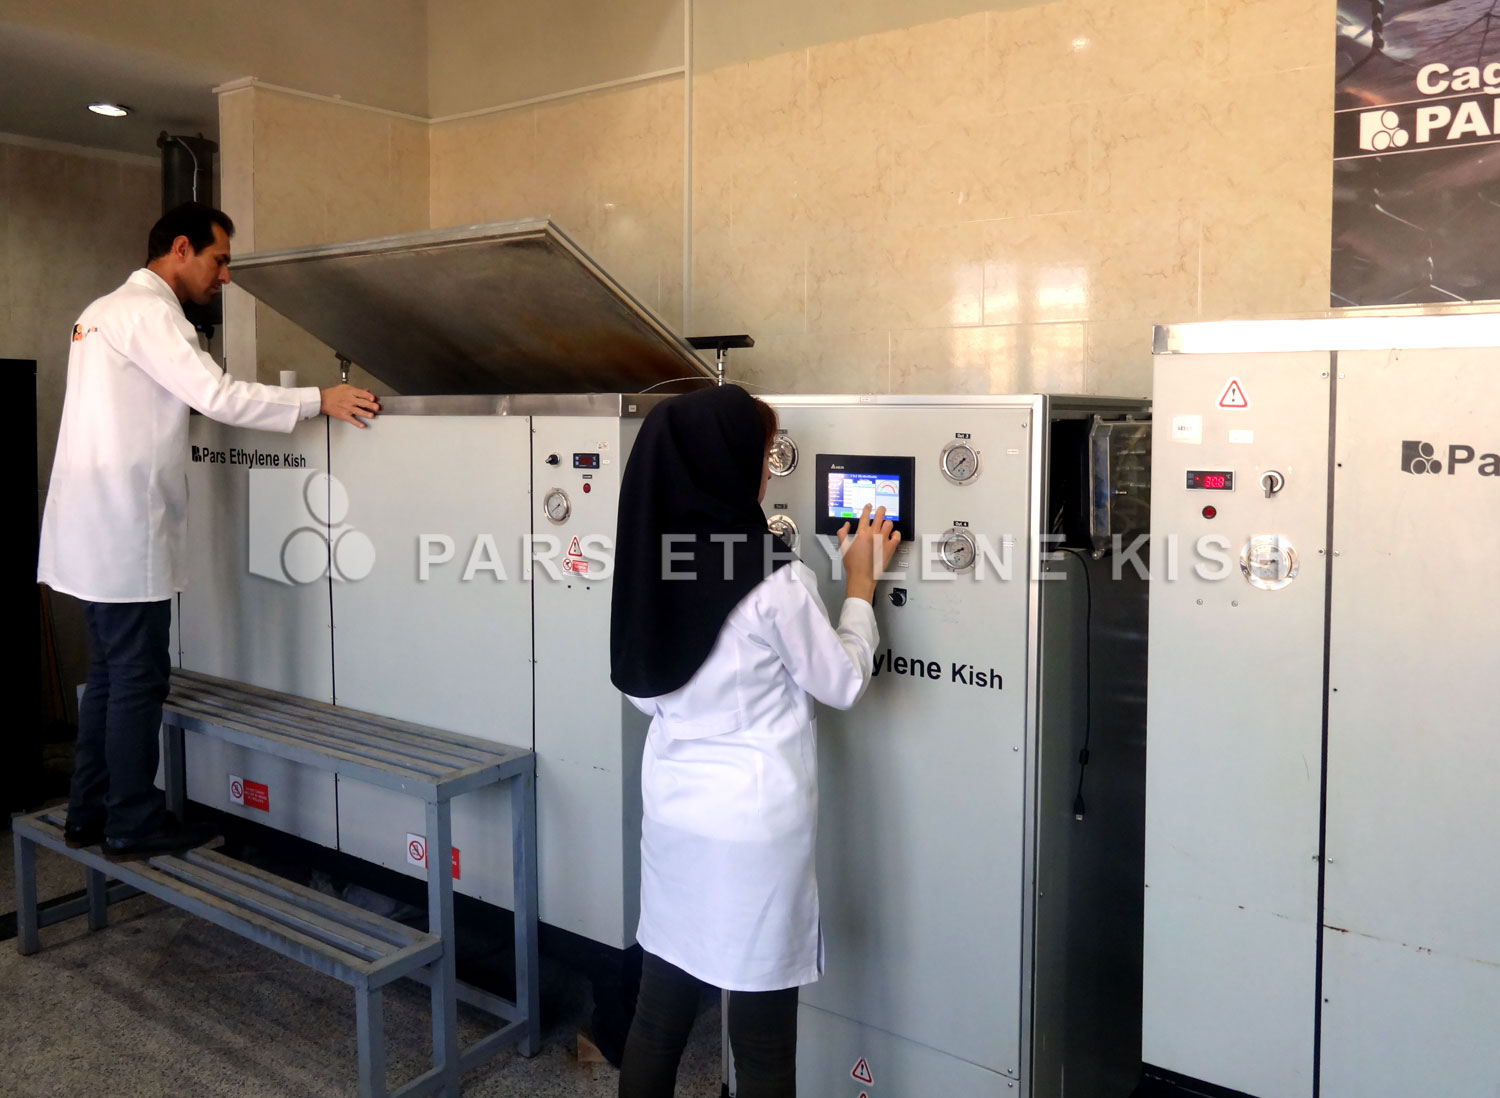
The hydrostatic polyethylene tube test should be carried out in the laboratories of the standard office and equipped with acrodite equipment. Two models of hydrostatic testing are performed on polyethylene pipes:
Short-term hydrostatic test for polyethylene pipe:
In this test, the short-term hydrostatic test is carried out inside a floating-point pond under the influence of increasing pressure, so that during 60 to 70 seconds the tube becomes swollen and then bursts. If the result of the test is acceptable, the behavior of the tube is of a type of tourniquet. A bundle without a bump or a longitudinal split in it is inoperable. The short-term test of polyethylene pipe is a type of inspection to determine the type of polyethylene pipe behavior is performed. By performing this test, the type of sample behavior is determined during the short term under hydrostatic pressure.
Long-term hydrostatic test for polyethylene pipe:
Long-term hydrostatic test is a long-term test that simulates the life span of a pipe in a shorter time than its normal lifetime. In this test, polyethylene pipe samples are placed under constant internal pressure at 20 ° C for 100 hours or 80 ° C for 165 hours, depending on the size of the pipe and the type of primary material determined. After the specified time, the tubes should not be bursting, swelling, leakage or any other disadvantages.
Hydrostatic testing of polyethylene pipelines
The present method, which is based on international standards and technical documentation of the research institutes, aims to assist the industry in providing the polyethylene pipes and to consumers of polyethylene pipes to ensure the health of the plumbing system.
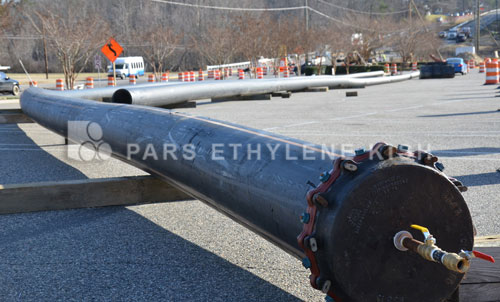
The general objective of the hydrostatic test of polyethylene pipelines:
Ensuring the correctness of the work, the suitability of the pipe, the valves, the accessories and the size of the equipment used, and thus the necessary pressure to withstand all parts of the line, against the design pressure and non-leakage.
The points that should be considered before starting the hydrostatic test:
-
1- Only a group of people can carry out the hydrostatic test process of the line that has sufficient experience in this field or have passed the relevant training.
-
2- Pipes, fittings and equipment of the line must be controlled before testing and if there are imperfections, then the defect must be corrected.
-
3- Before the start of the hydrostatic test, all seam joints must be completely cold. All mechanical connections must also be fully fitted and all the necessary accessories, including washers, must be installed and tightly closed.
-
4- In the case of use of concrete reinforcements, it should be allowed to complete concrete baking and obtain the strength required to withstand axial forces.
-
5- The best fluid to be used for hydrostatic testing is water. Use of gas or air is only permitted in circumstances where, due to special design requirements, liquids such as water can not be used. When the hydrostatic test of the gas or air pipeline is compressed, it stores energy. In such a situation, if the pipe is burst, both the tensile strength of the pipeline and the condensation energy of the gas are freed, which is very dangerous (there is a potential serious injury to the equipment and testing operators.)Therefore, When using water, the tube must be completely airtight. In case of lack of suitable airtight, due to air compression, increasing pressure inside the polyethylene pipe and pressure stabilization is difficult. In some cases, it has been observed that during the test, despite the system being sealed and applying the appropriate time to achieve coexistence and initial expansion of the tube, the pressure test has had a large drop in leakage
-
6- A device used to provide water pressure (the pump or any other device) must be adequately predicted to be able to re-energize at the time of pressure in the system.
-
7- All measuring equipment must have a valid calibration certificate.
-
8- In order to estimate the amount of water required, the volume of the pipeline under test must be calculated.
-
9- All expansion joints must be completely restrained or removed temporarily during the test.
-
10- To carry out the test, you should use clean water to fill the system. This water should be smooth, odorless and free of any suspended matter visible to the naked eye. It is also necessary to refrain from testing under rainy conditions, fogging or wetting of the trench. In this situation it will be difficult to detect leakage.
-
11- the pressure of the polyethylene pipeline test under standard conditions (20CO) typically for pipelines with a pressure of up to 10 atmospheres, is 1 to 1/5 times of nominal pressure and for pipelines with a working pressure of more than 10 atmospheres, 1 to 1 /25 times of the nominal pressure of the pipe. Selecting the test pressure is done by the consultant engineer and pipeline designer).
-
12-The length of the tube tested in small tubes, is about 800 meters (according to the Office of Strategic Planning, No. 303), and in pipes with a higher diameter, lower amount is recommended.
-
13- Prior to conducting the hydrostatic test, a pre-ground soil preparation of at least 30 cm should be made on the crown of the tube. Connecting tubes to each other and the location of accessories should be open and visible.
-
14- The filling of the pipeline should start slowly and from the bottom. This action prevents air from being blocked, foamed and dissolved in water. The dissolved water in water is capable of creating a large ram, which can lead to leakage. During the line filling, the upstream side of the line should be open and the air outlet is under its control.
-
15- Flow rate or slow filling rate (Q) at linear velocity less than 3m /min follows the following statement: in which the ID of the inside diameter of the pipe is in meters.
-
16- After filling the line and ensuring the saturation of the pipes and draining all available air (using the air drain valve with a slow opening of the flange at the end of the line), it should be allowed to the pipeline for 3 to 24 hours. To reach the equilibrium temperature with water, the air is dissolved, and the air is likely to be released gradually from the seams of the system. This duration depends on the amount of water inside the tube, the thickness of the tube and the initial temperature of the water and the pipe.
-
17- On the top of the pipe, at the bottom point, a calibrated pressure gauge with a precision of 0/ 1 bar (one meter water column) installed. The test pressure is always a combination of the pump pressure and the pressure difference between the height of the water (head) inside the polyethylene pipe (for every 10 meters, the difference in pressure height is about 1 bar), so the barometer should be at the lowest point at the beginning of the tube which has the highest pressure.
-
18- No operation is performed on the trench during the test.
-
19- Whenever a hydraulic pressure test has been carried out and observed on the line and its accessories, the operation must be stopped and water should be stopped until the conditions of work in the place or areas desired for modification, discharge and restart the test is allowed after a fault fix.
-
20- If the temperature of the polyethylene pipe is more than 40 °, it should not be subjected to hydrostatic testing.
-
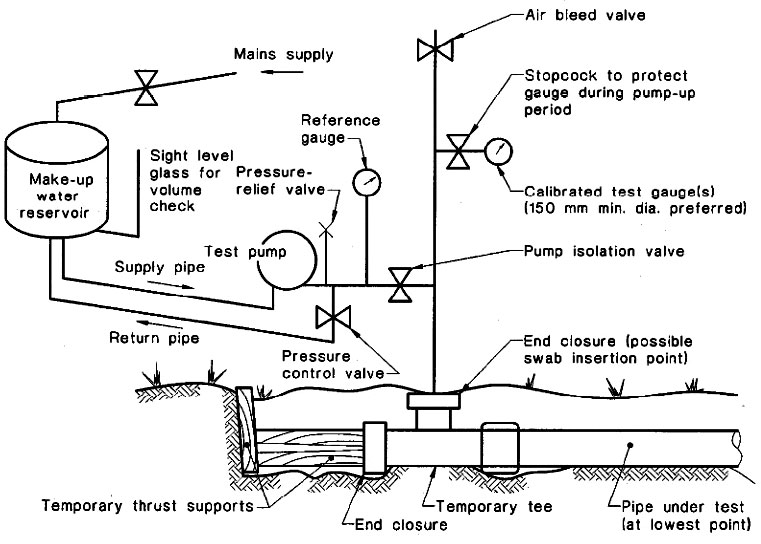
21- The following figure shows an example of the various components of the hydrostatic test of the pipeline:
Duration of hydrostatic test:
In each type of pressure test for polyethylene pipes, the total test time consists of 3 parts:
A : Sample and companion filling time: The time required to fill the pipeline from water and the companion of the pipe and water. After filling the tube, it should take at least 3 to 24 hours until the pipeline and the water reach the temperature equilibrium. During this time, air is blocked and the air dissolved in water is removed from the seams of the system.
B : Initial expansion time: When the pressure in the plumbing system is reduced due to the general expansion of the plastic pipe, it should be adjusted regularly to the test pressure, which lasts about 4 hours.
C : Main test time: This step is after initial expansion and lasts an hour.
Note (time between two tests): In the event of any problem and discontinuation of the test, the interval between the two tests will be at least 5 times of the time that the sample was tested.
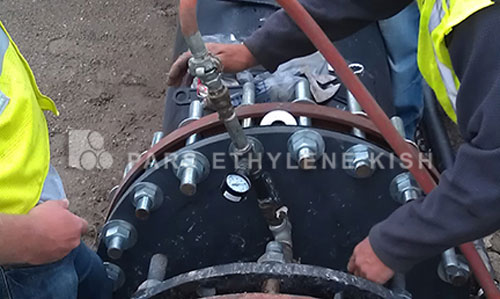
Safety warnings in the hydrostatic test:
A pressure test is carried out in the plumbing sets in order to find a leakage or to ensure that there is no technical error and it may lead to fluid leakage or a burst of a part of the plumbing, sudden pressure, causes a momentary, accelerated and uncontrollable momentum and side damage. So :
-
1. During the hydrostatic test, the entire pipe system must be carefully monitored.
-
2- It is recommended that, when the whole or part of the system is tested, due to the axial and compressive forces, the points of the are safely restrained so as to prevent abrupt movement during possible bursting.
-
3- Tools such as pressure pumps and test tools should be firmly fixed on their premises.
-
4- All components and parts that are under reduced pressure can be removed from the pressure path.
-
5- People working near the line under pressure should be reminded to keep the safety distance out of line.
-
6. Leakage usually occurs in joints and seams of the system. Depending on the connection and seam, leakage can be in the form of leakage (spillage), spray or flow. If the welds of the fittings of the polyethylene pipes are carried out correctly, the bonding strength will be greater than or equal to the tubing and will not leak. The presence of leakage in the fusion joints indicates that the connection is faulty, which is likely to burst at any moment. If the leakage of the fusion joints is observed, rapidly keep your distance from the pipe and gradually reduce the pressure to zero.
-
7- If leakage is observed, the pressure should not be suddenly reduced. Because a sudden drop in pressure has caused a rampage that can cause leakage to explode. |
-
8- Provide for emergency and medical assistance in the event of an accident.
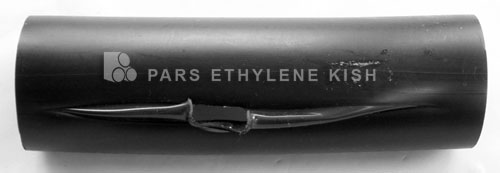
Steps to Perform Hydrostatic Pressure Testing on the Polyethylene Plumbing System:
A : Before starting the hydrostatic test, all test equipment and all connections in the pipeline should be controlled that are properly closed and function properly. First, enter the clean water by means of a pump or any other means and then apply air. For airing at the highest points, you can use air drain valve or flange screw to loosen the flanges. In this case, ensure that the system is fully filled with water and air, and that the screws are tight and closed.
Note: The tube should be filled slowly. The flow rate of the filler tube should not exceed the air outlet speed (especially when the air intake is not used and the airing is performed by loosening the flange bolts). Also, in order to avoid ram impact, the filler flow rate should not be more than the design speed of the pipeline.
B : At this stage, wait for at least 3 to 24 hours to ensure uniformity of water and pipe temperature, and ensure their coherence. After the concomitant conditions, the temperature of the tube will be effective. Typically, the tubes are dewatered at night to eliminate the effect of sunlight in the tubular and fluid coma, and the time of applying the pressure test will be hours before dawn. Otherwise, you should avoid direct sunlight on the tube (for example, by covering the tube itself with the soil and placing the canopy on the overheats).
C : If the temperature of the tube is 20C, increase the water pressure inside the as much as the test pressure. For 4 hours, the polyethylene tube will have a maximum pressure drop and, as a result of the viscoelasticity of the polyethylene, it will open. During this time, add water to the set, push the pressure up to the test pressure and keep it steady.
D : Restore the water pressure inside the so that the atmospheric pressure is less than the pressure of step (c) and wait for an hour. In the event of non-leakage or any other defect in the line and no pressure drop (at this stage, a maximum pressure drop of 5 will be acceptable), the test is completed.
E : At the end, the pressure should be slowly lowered to zero.
Highlights on the hydrostatic test:
-
1- Keep in mind that the total hydrostatic test time on a plastic pipe system at a pressure above design pressure should never exceed 8 hours. If there was a piece of piping during which the design would recommend a longer time for it and the time was longer than 8 hours, at the end of the first 8 hours, the test should be stopped and the pressure inside the system should reach zero. Then, 5 times of the time, 40 hours, interrupt and allow the system to rest and then test the next 8 hours.
-
2- Hydrostatic pressure test, according to the view of the supervisor and the project consultant, is better to calculate based on the pressure (less than the nominal pressure of the pipe) to prevent the fatigue of the pipe. When the test pressure is equal to or less than the design pressure of the system, the total test duration is about 72hr or less.
-
3- Repairing the damaged polyethylene pipe and fittings using extrusion or hot gas welding methods is not allowed at all and the damaged piece should be replaced.
-
4- If the temperature of the tube exceeds 40C2, the test should be avoided. Due to the high capability of polyethylene pipes in absorbing UV rays, the temperature of the tube is rapidly rising due to exposure to sunlight even at low ambient temperatures. Therefore, it is recommended that cool water be used during testing and avoid direct sunlight exposure to the tube.
Whenever the temperature of the pipe is greater than 20C at the time of using the system or during the test, the pressure reduction coefficient should be used according to the following table extracted from the 14563ISIRI or 13761ISO standard. It should be noted that these coefficients are applicable to polyethylene materials whose stress regression curve at 80 ° C does not show any knee length less than one year according to the 9080ISO (such as imported 100PE black materials), otherwise (such as Internal colorless materials) should use the standard B-line 13761ISO coefficients.
-
Temperature (centigrade) 20 25 30 35 40
-
Pressure drop coefficient 1 0.93 0.87 0.80 0.74
Given that the above graph is linear, for other temperatures, the corresponding coefficient can be obtained by linear interpolation.
Example:
The design pressure of a system in which polyethylene water pipes are used is at the weakest point of 10 atm and the water temperature and the tube is 20C. Calculate the test steps.
After step (a) and (b), the pressure of step c is calculated as follows:
Given that up to 10 atmospheres, it should be applied 1.5 times of the working pressure, then the test pressure in step (c): Atmosphere 15 = 1.5*10.
after step (c), the pressure in step d is as follows:
Atmosphere 14/3 = 15 - 0/7
At the end of the test, the pressure can drop to 5% and reach the following number:
Atmosphere 13/58 = (0. 5 × -14/3) 14/ 3
We perform the above calculations for pipe temperature and 40C water:
Pressure in step (c): Atmosphere 11/ 1 = 0/74 × 1/ 5× 10
Pressure in step (d): Atmosphere 10/ 4 = 11/1 -0/7
The pressure in the final stage can drop to 5% (ie, 9.88 atmosphere). If the pipe temperature be larger than thi s amount, don’t do test.
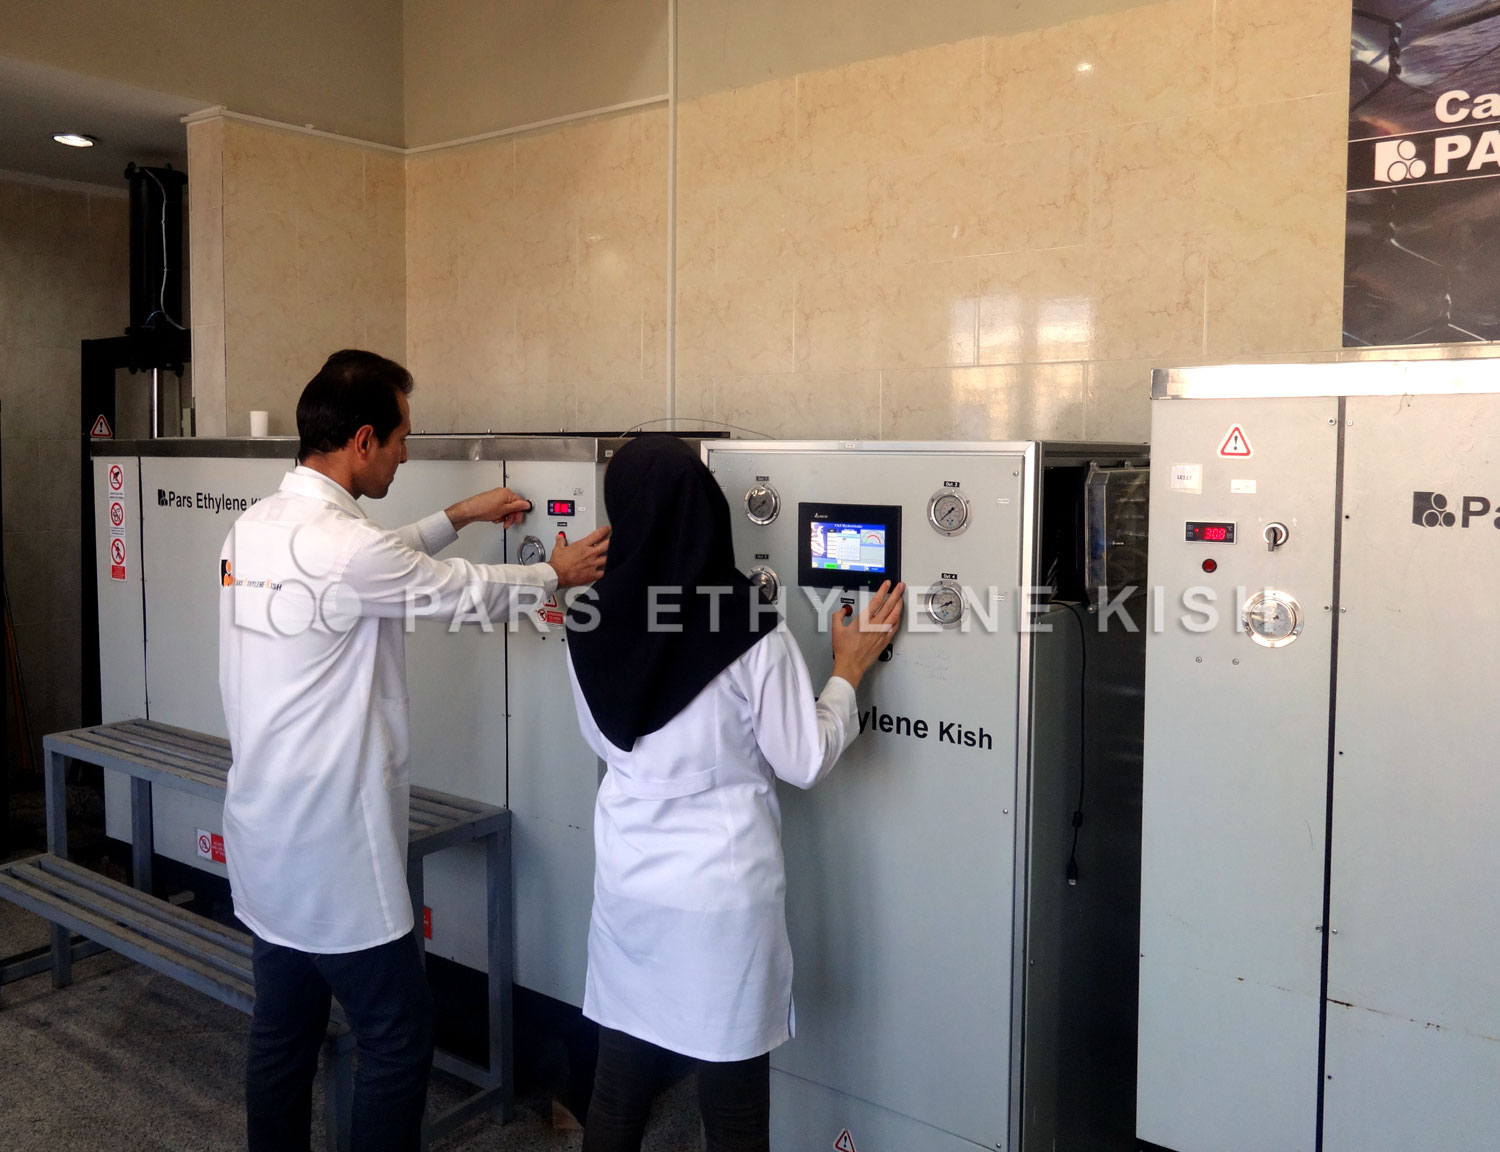
Hydrostatic Testing Reporting:
The report on the hydrostatic pipeline test should include at least the following:
-
1- The liquid with which the test was performed and its qualitative characteristics
-
2- Weather conditions during the test
-
3- The tube temperature during the test and the various stages of testing
-
4- Test pressure value
-
4.1. Type of pressure gauge and its accuracy.
-
4.2. Disturbance position (height and distance from the test piece)
-
4.3 Gauge Calibration
-
4.4 Recording the pressure during the various stages of the test
-
4.5.Any pressure change due to increased pipe temperature
-
5- Test time at different stages
-
6- Brief description of the length of the test piece, height and position of the site
-
7- Brief description of line components
-
8- Brief description of the leakage and defects observed and the modifications made
-
9- Date and time of testing
-
10- Introduction of the team responsible for the test.
|
|
|
|
|
|